✅ 저번에는 전체 칵테일에 대한 api를 불러왔었다면 이번에는 개별 상세 데이터 불러오기와 검색 기능을 구현하였다!
✅ 그 과정에서 원래 구현하려고 했던 추천 칵테일, TOP10 칵테일 api는 유로라는 것을 발견하였고.. 어찌해야할까 고민하다가 결국 약간 디자인을 변경하기로 결정했다.
1️⃣ 변경된 메인페이지 디자인
메인페이지에 넣으려고 했었던 추천 레시피, TOP10 레시피가 빠지니까 너무 휑해보이고 그렇다고 레시피 페이지에 있는 전체 리스트를 또 메인페이지에 보여주는 건 아닌 것 같고,,,
고민하다가 조금 감각적(?)으로 가는 것도 좋을 것 같아서 이런 식으로 변경하기로 결정했다!
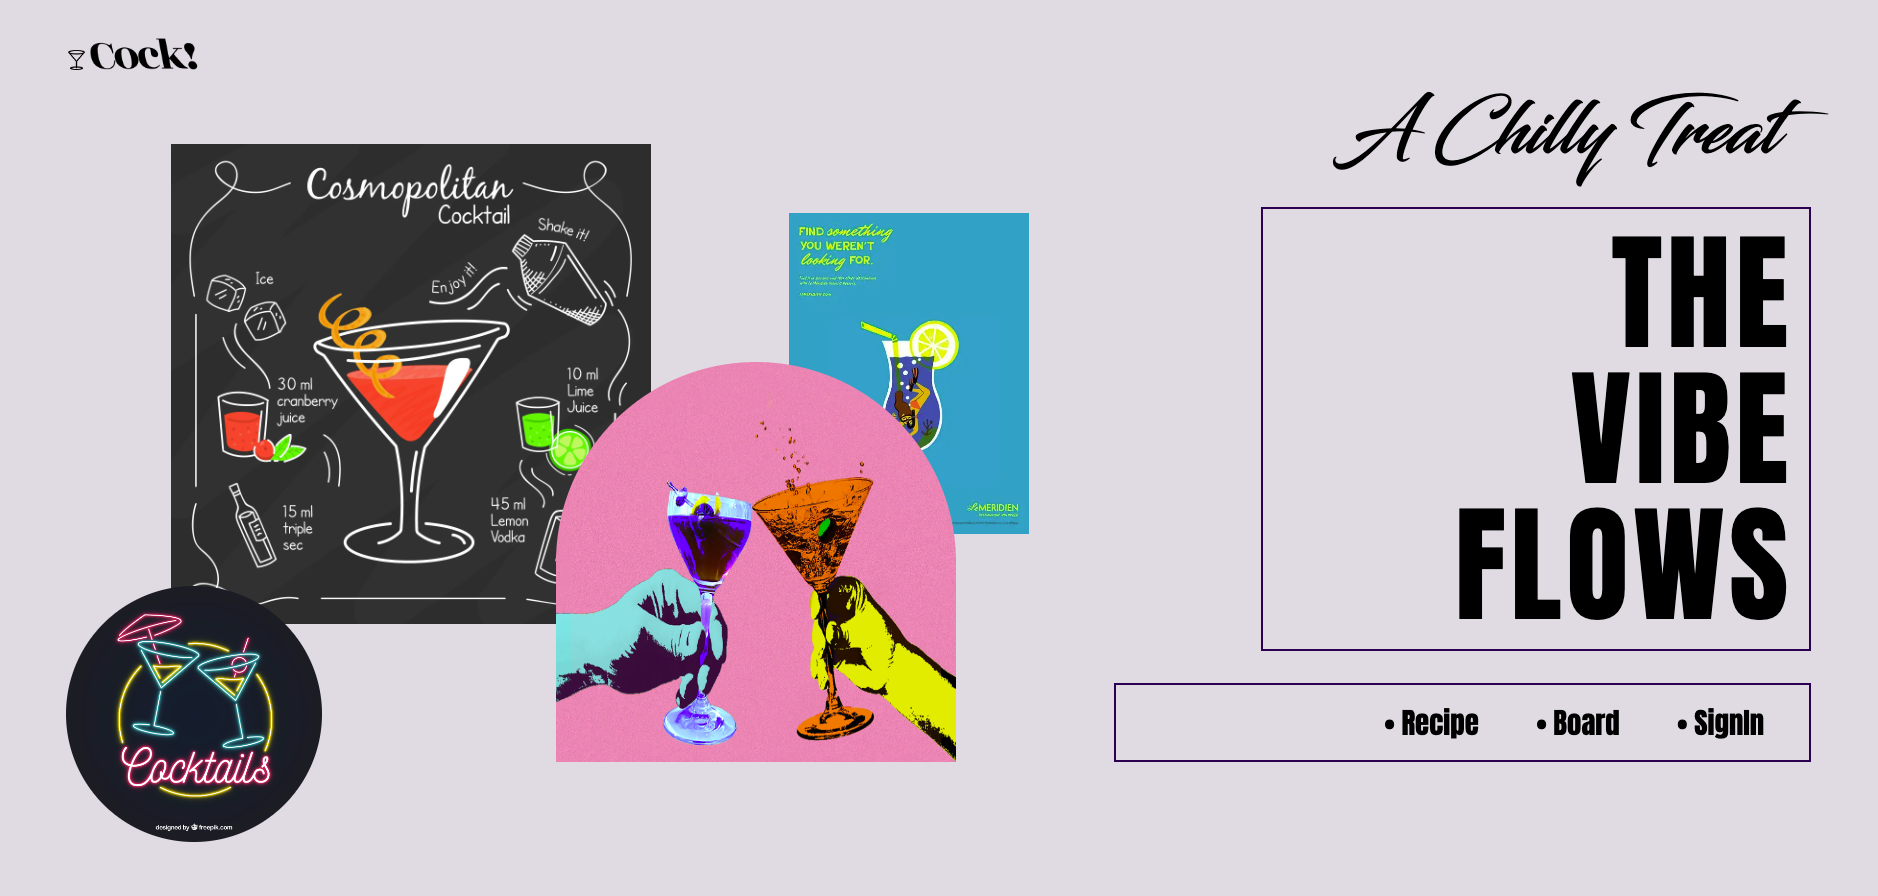
저 디자인에 비하면 조악하지만,, 나름 애니메이션도 들어있다 하하
최종디자인은 아니라 조금씩 고쳐나가면 그래도 좀 괜찮지 않을까.. 라는 희망을 품으며,,
2️⃣ 개별 상세 데이터 불러오기
1. thunk 만들기
export const fetchSingleCocktails = createAsyncThunk(
  "cocktails/fetchSingleCocktails",
  async ({ id }: Cocktail) => {
    const res = await fetch(
      `https://www.thecocktaildb.com/api/json/v1/1/lookup.php?i=${id}`
    );
    return await res.json();
  }
);
2. 리듀서 추가
const cocktailSlice = createSlice({
  // 리듀서 이름
  name: "cocktails",
  // 초기 상태
  initialState: {
    loading: false,
    cocktails: [],
    error: null,
    cocktail: [],
  } as CocktailsState,
  reducers: {},
  // 추가 리듀서
  extraReducers: (builder: ActionReducerMapBuilder<CocktailsState>) => {
    builder
 	  ...

      // 개별 칵테일
      .addCase(fetchSingleCocktails.pending, (state) => {
        state.loading = true;
      })
      .addCase(fetchSingleCocktails.fulfilled, (state, action) => {
        state.loading = false;
        state.cocktail = action.payload.drinks;
      })
      .addCase(fetchSingleCocktails.rejected, (state, action) => {
        state.loading = false;
        state.error = action.payload;
      })

     ...
  },
});
3. 상세페이지 파일에 붙이기
"use client";

const RecipeDetailPage = () => {
  const [modifiedCocktail, setModifiedCocktail] = useState<{
    name: string;
    img: string;
    info: string;
    category: string;
    glass: string;
    instruction: string;
    ingredients: string[];
  }>({
    name: "",
    img: "",
    info: "",
    category: "",
    glass: "",
    instruction: "",
    ingredients: [],
  });

  const [like, setLike] = useState(false);

  const OnHeartClick = () => {
    setLike(!like);
  };

  const { loading, cocktail } = useSelector((state: any) => ({ ...state.app }));

  const dispatch = useDispatch<AppDispatch>();

  const { id } = useParams() as { id: string };

  useEffect(() => {
    dispatch(fetchSingleCocktails({ id }));
  }, [dispatch, id]);

  useEffect(() => {
    if (cocktail.length > 0) {
      const {
        strDrink: name,
        strCategory: category,
        strAlcoholic: info,
        strGlass: glass,
        strDrinkThumb: img,
        strInstructions: instruction,
        strIngredient1,
        strIngredient2,
        strIngredient3,
        strIngredient4,
        strIngredient5,
      } = cocktail[0];
      const ingredients = [
        strIngredient1,
        strIngredient2,
        strIngredient3,
        strIngredient4,
        strIngredient5,
      ];
      const newCocktail = {
        name,
        category,
        info,
        glass,
        img,
        instruction,
        ingredients,
      };
      setModifiedCocktail(newCocktail);
    } else {
      setModifiedCocktail({
        name: "",
        img: "",
        info: "",
        category: "",
        glass: "",
        instruction: "",
        ingredients: [],
      });
    }
  }, [id, cocktail]);

  if (!modifiedCocktail) {
    return <p>칵테일 정보가 없습니다.</p>;
  } else {
    const { name, img, info, category, glass, instruction, ingredients } =
      modifiedCocktail;
    console.log(modifiedCocktail);
    return (
      <>
        {loading ? (
          <Loading />
        ) : (
          <div className={styles.root}>
            <div className={styles.left}>
              <span className={styles.mainImgBox}>
                <img src={img} alt={name} className={styles.mainImg} />
              </span>
              <span className={styles.heartBox}>
                <Image
                  src={like ? heart_fill : heart}
                  alt={like ? "채운 하트" : "빈 하트"}
                  className={styles.heartImg}
                  onClick={OnHeartClick}
                />
              </span>
            </div>

            <div className={styles.right}>
              <div className={styles.nameWrap}>
                <h1>{name}</h1>
                <div className={styles.contentBox}>
                  <p className={styles.subTitle}>카테고리</p>
                  <p className={styles.content}>{category}</p>
                </div>
                <div className={styles.contentBox}>
                  <p className={styles.subTitle}>알코올 여부</p>
                  <p className={styles.content}>{info}</p>
                </div>
                <div className={styles.contentBox}>
                  <p className={styles.subTitle}>칵테일 잔</p>
                  <p className={styles.content}>{glass}</p>
                </div>
              </div>

              <div className={styles.ingredientsWrap}>
                <h2>필요한 재료</h2>
                {ingredients.map((x, i) => {
                  return (
                    <p key={i} className={styles.ingredient}>
                      {x}
                    </p>
                  );
                })}
              </div>
            </div>
          </div>
        )}
      </>
    );
  }
};

export default RecipeDetailPage;- useParams를 사용하여 URL 파라미터 가져오기
- 컴포넌트가 마운트될 때, id가 변경될 때 해당 칵테일 레시피 가져오는 액션 Dispatch
- Redux의 store에서 해당 액션 처리되어 레시피 가져오짐
- 가져온 레시피 가공하여 modifiedCocktail에 저장
이 부분에서 타입스크립트 때문에 좀 고생했다.. 역시 타입스크립트는 어려워.. 각잡고 공부를 더 해야겠다.. 이러다 any스크립트 되겠어요...
4. 결과 화면
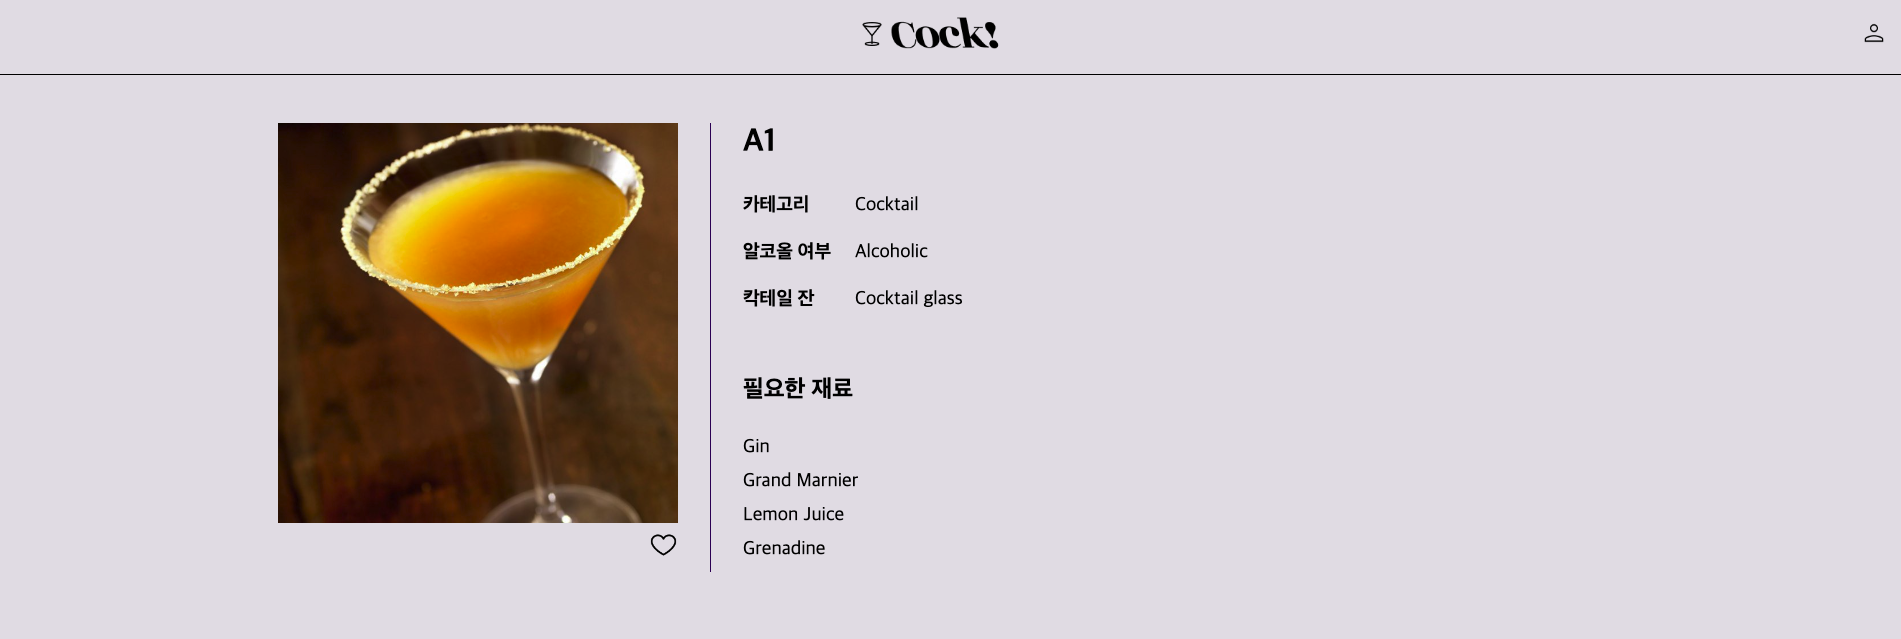
데이터는 잘 가져와지고 잘 뿌려지는데... 뭔가... 뭔가.. 디자인적으로 아쉬운 느낌 😭
회사에서는 디자이너님이 예쁘고 잘 만들어주셔서 그거만 보고 하면 됐었는데 혼자서 디자인 하려니까 너무 막막하다...
footer를 만들어서 조금 채워야 하나 ㅠㅠ
우선 상세페이지는 끝!
2️⃣ 검색 기능 구현
1. thunk 만들기
export const fetchSearchCocktails = createAsyncThunk(
  "cocktails/fetchSearchCocktails",
  async ({ searchText }: Cocktail) => {
    const res = await fetch(
      `https://www.thecocktaildb.com/api/json/v1/1/search.php?f=${searchText}`
    );
    return await res.json();
  }
);
2. 리듀서 추가
const cocktailSlice = createSlice({
  // 리듀서 이름
  name: "cocktails",
  // 초기 상태
  initialState: {
    loading: false,
    cocktails: [],
    error: null,
    cocktail: [],
  } as CocktailsState,
  reducers: {},
  // 추가 리듀서
  extraReducers: (builder: ActionReducerMapBuilder<CocktailsState>) => {
    builder
      // 칵테일 검색
      .addCase(fetchSearchCocktails.pending, (state) => {
        state.loading = true;
      })
      .addCase(fetchSearchCocktails.fulfilled, (state, action) => {
        state.loading = false;
        state.cocktails = action.payload.drinks;
      })
      .addCase(fetchSearchCocktails.rejected, (state, action) => {
        state.loading = false;
        state.error = action.payload;
      });
  },
});
3. searchBox 컴포넌트 만들기
import { SyntheticEvent, useRef } from "react";
import * as styles from "./index.css";
import { useDispatch } from "react-redux";
import { fetchSearchCocktails } from "@/app/Redux/features/cocktailSlice";
import { AppDispatch } from "@/app/Redux/store";

const SearchBox = () => {
  const searchTerm = useRef<HTMLInputElement>(null);
  const dispatch = useDispatch<AppDispatch>();

  const handleSubmit = (e: SyntheticEvent) => {
    e.preventDefault();
    if (searchTerm.current) {
      const searchText = searchTerm.current.value;
      dispatch(fetchSearchCocktails({ searchText }));
    }
  };

  return (
    <form className={styles.root} onSubmit={handleSubmit}>
      <input
        ref={searchTerm}
        placeholder="칵테일 이름 검색"
        className={styles.searchInput}
      />
      <button type="submit" className={styles.searchBtn}>
        검색
      </button>
    </form>
  );
};

export default SearchBox;- e.preventDefault() 안 넣어서 검색은 잘 되는데 input에 텍스트가 안 보이는 현상이 있었다..
- e.prevenDefault() 넣으니까 해결!!
타입스크립트 때문에 조금 멈칫 멈칫 했으나 예전에 타입스크립트로 쇼핑몰 만드는 강의를 들었어서 나름 순조롭게 지나갔다 휴,,
4. 결과 화면
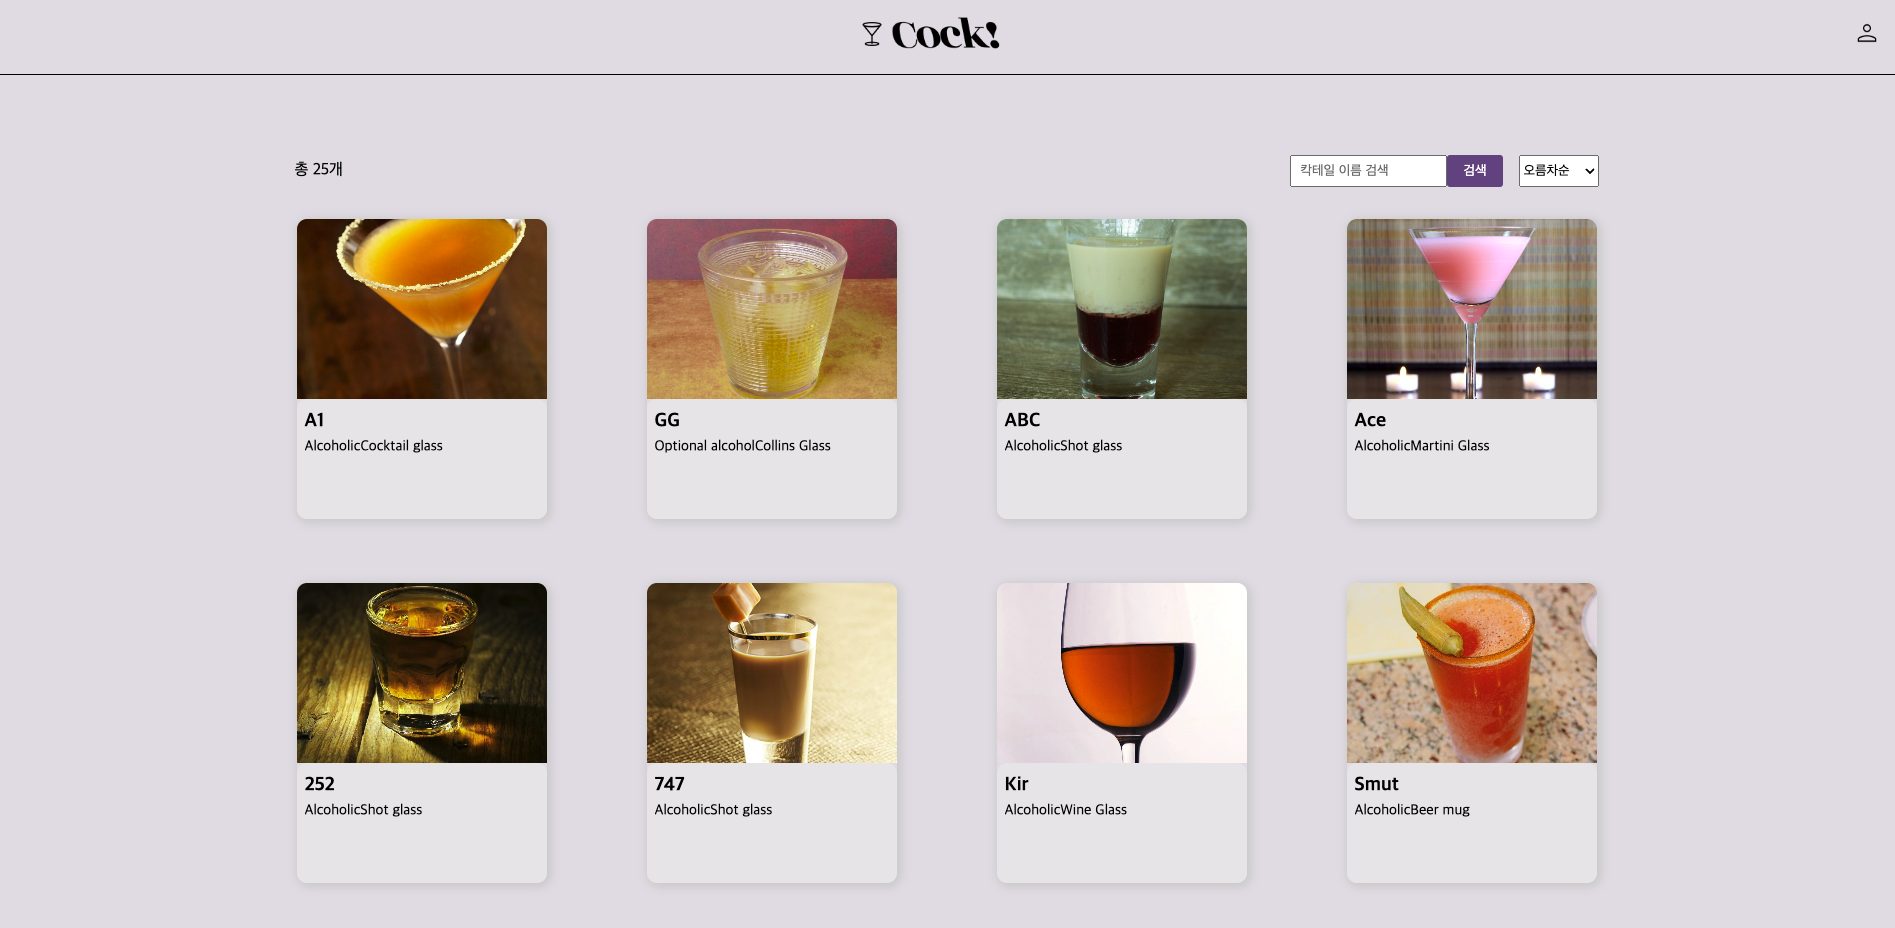
- 처음엔 다 전체 칵테일 레시피가 다 보인다 총 25개!
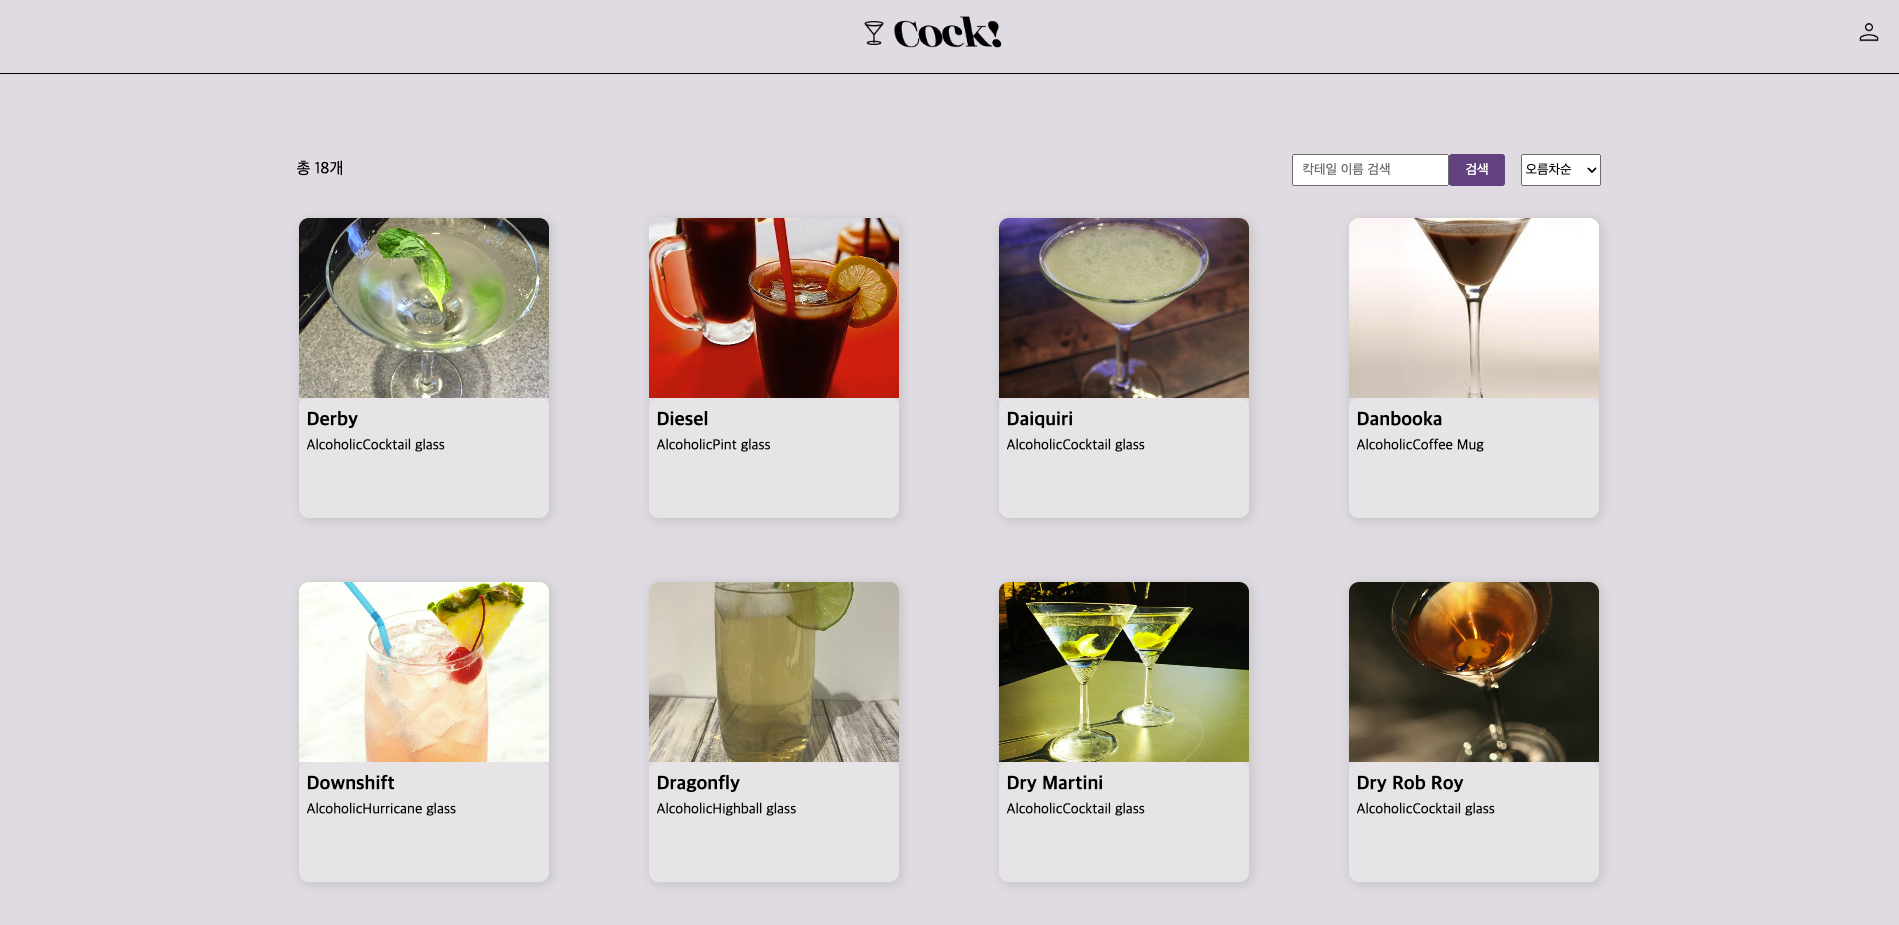
- d를 검색하니 D가 들어간 칵테일 레시피만 뜨고 총 개수도 18개인 것을 확인!
레시피에 관한 건 끝!!
다음엔 게시판,,
crud 잘 할 수 있겠지,,
'NEXT.JS > Cock! 칵테일 프로젝트' 카테고리의 다른 글
| [NEXT] 8. 1차 개발 끝 / Vercel로 배포하기 / 배포 후 오류 해결 (0) | 2024.03.24 |
|---|---|
| [NEXT] 7. 게시판 만들기, 기본 CRUD (0) | 2024.03.16 |
| [NEXT] 5. Redux-Toolkit으로 비동기 api 불러오기, 상태관리하기 (0) | 2024.03.08 |
| [NEXT] 4. 메인페이지, 서브페이지 구현하기 / 로그아웃 구현 (0) | 2024.03.03 |
| [NEXT] 3. 로그인, 회원가입 구현하기 / Next-Auth, Prisma / `NextRouter` was not mounted 에러 해결 (0) | 2024.02.20 |